How to Use a Heat Press with DTF Transfers (Step-by-Step Guide)
May 13, 2025 (Updated on Sep 26, 2025)
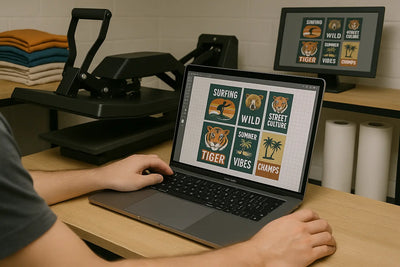
You’ve got your DTF transfers — now it’s time to press them.
Whether you’re new to DTF or just want cleaner, longer-lasting results, the key is in your heat press settings.
At DTF Dallas, we help print shops, creators, and small businesses press like pros. Here’s how to use your DTF heat press correctly — every single time.
What Is a DTF Heat Press?
A DTF heat press is simply a standard heat press machine used to apply Direct to Film (DTF) transfers onto fabric.
You don’t need special equipment — just:
-
A quality heat press
-
A DTF transfer (standard or UV)
-
Your blank garment
No pretreatment. No extra tools. Just proper technique.
Step-by-Step: How to Press a DTF Transfer
Follow these simple steps to get professional, long-lasting results with every DTF transfer:
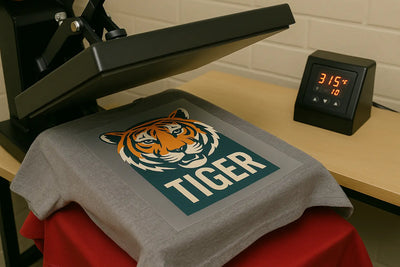
1. Preheat Your Heat Press
Set your press to:
-
Temperature: 305–320°F (depending on fabric)
-
Time: 10–15 seconds
-
Pressure: Medium to firm
Let the machine warm up fully before placing any garments inside.
2. Pre-Press the Garment
-
Place your blank shirt (or other garment) on the lower platen.
-
Press it for 3–5 seconds without a transfer.
-
This removes moisture and wrinkles for better adhesion.
3. Position Your DTF Transfer
-
Place the printed side down, film side up.
-
Align carefully — DTF has no second chances once pressed.
-
Cover with a Teflon sheet or parchment paper (optional for added protection).
4. Press the Transfer
-
Close the heat press.
-
Apply firm pressure for 10–15 seconds.
-
Wait until the timer finishes before lifting.
Make sure the transfer is fully bonded before moving on.
5. Let It Cool (Cold Peel)
DTF is typically a cold peel method:
-
Wait 30–60 seconds for the film to cool.
-
Then slowly peel away the carrier sheet at a low angle.
-
If the transfer starts lifting, press again with a Teflon sheet for 5 seconds.
Note: Some formulas (especially UV DTF) are hot peel — always check your supplier’s specs.
6. Optional: Final Press
For extra durability and a matte finish:
-
Place a Teflon sheet over the design.
-
Press again for 5 seconds with medium pressure.
-
This helps the ink fully embed into the fibers.
Best DTF Heat Press Settings (Quick Reference)
|
Fabric Type |
Temp |
Time |
Pressure |
Peel |
|
Cotton |
320°F |
15 sec |
Medium-Firm |
Cold Peel |
|
Polyester |
300°F |
10 sec |
Medium |
Cold Peel |
|
Blends |
310°F |
12 sec |
Medium-Firm |
Cold Peel |
Always test with your press — variables like pressure consistency and humidity may affect results.
Common Mistakes to Avoid
-
❌ Too much heat: Can scorch or warp the film.
-
❌ Too little pressure: May cause poor adhesion.
-
❌ Peeling too soon: Always wait for a cold peel unless otherwise stated.
-
❌ Skipping the pre-press: Trapped moisture ruins the bond.
Why Choose DTF Dallas for Your Transfers
We print transfers that are easy to press, vibrant, and built to last. When you order from DTF Dallas, you get:
-
✅ Perfectly calibrated gang sheets
-
✅ Fast turnaround with same-day shipping
-
✅ Options for both standard and UV DTF
-
✅ No printer or software needed
👉 Order your custom DTF transfers now
Conclusion
A good press can make or break your DTF job.
Stick to the right temp, time, and pressure — and let the ink do the rest.
Once you master the press, DTF becomes the easiest, most profitable way to decorate garments at scale.
Need transfers to get started?
Comments 0
Be the first to leave a comment.